Step-by-Step Guide to Making DIY Fruit Preserves

December 17, 2024
This page may contain affiliate links for which I may be compensated at no cost to you. Thank you for your support!


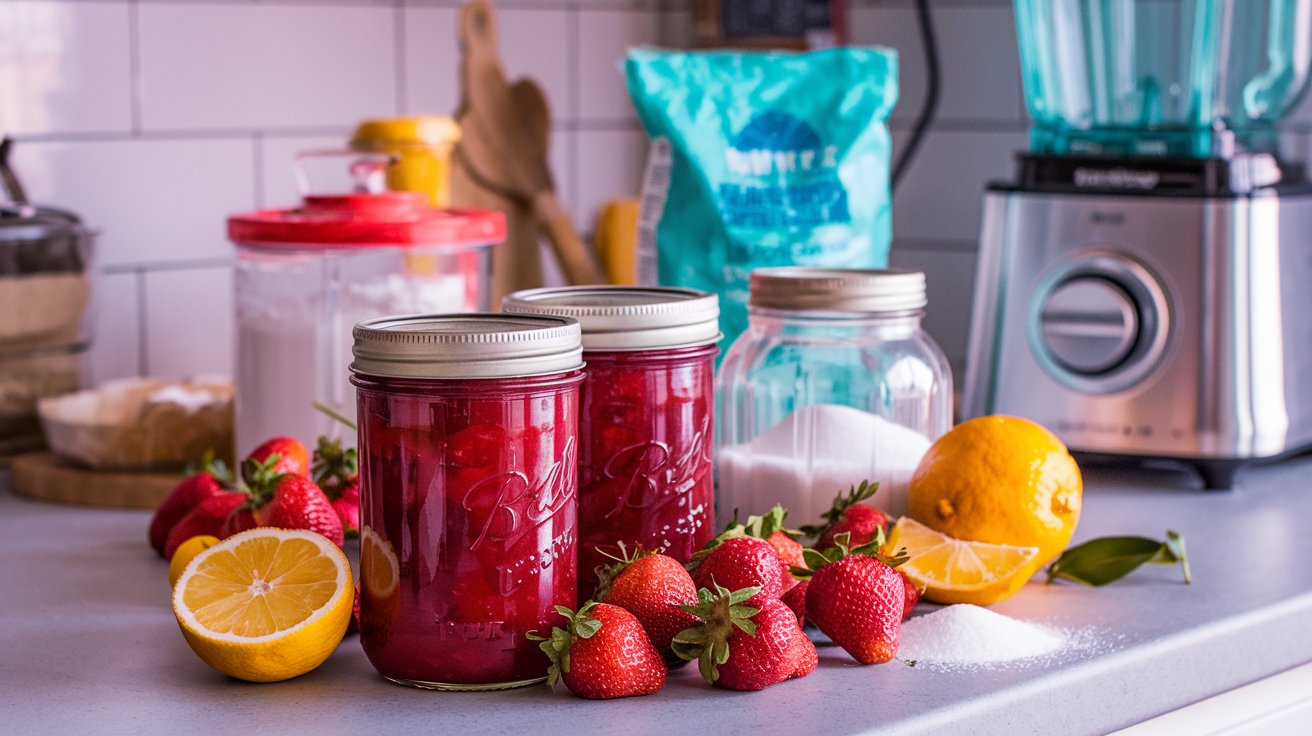
There’s nothing quite like the satisfaction of opening a jar of homemade fruit preserves. Whether you’re spreading it on toast, swirling it into yogurt, or gifting it to a friend, you’ll love the joy of capturing fresh fruit flavors at their peak. Don’t worry—making preserves isn’t as intimidating as it might seem. This guide will walk you through each step with tips and encouragement to make sure you feel confident in the kitchen.

Ingredients You’ll Need:

Tools You’ll Want to Have on Hand:


Step-by-Step Instructions:

  1. Prepare the Fruit: Start by washing your fruit thoroughly. Take a moment to enjoy their natural colors and scents—it’s part of the fun! Remove stems, pits, or seeds as needed and chop the fruit into small, even pieces. Don’t stress if they’re not perfect; they’ll break down beautifully as they cook.
  2. Cook the Mixture: Combine your chopped fruit, sugar, and lemon juice in a large pot. A good starting ratio is 2 parts fruit to 1 part sugar, but you can adjust to taste. Cook over medium heat, stirring often to prevent sticking. If you’re feeling adventurous, toss in a cinnamon stick or a few slices of ginger for a unique twist. Don’t worry if it feels runny at first—the mixture will thicken as it simmers.
  3. Sterilize the Jars: While your jam is bubbling away, prepare your jars. Boil them in water for about 10 minutes to sterilize, then carefully remove them with tongs and let them dry on a clean towel. This step ensures your preserves stay fresh and safe.
  4. Fill the Jars: Once your jam has thickened (test by dropping a bit on a cold plate; if it wrinkles when pushed, it’s ready), it’s time to fill your jars. Use a funnel to pour the hot jam into your sterilized jars, leaving about 1/4 inch of headspace. Don’t worry if a little spills—just wipe the rims clean before sealing.
  5. Seal and Process: Place your filled jars back into a pot of boiling water, making sure they’re fully submerged. Boil for 10-15 minutes to create a vacuum seal. When you remove them, listen for the satisfying “pop” sound as they cool—that’s the sound of success!

Tips for Creative and Confident Preserving:

Preserving is as much about the process as the result. Enjoy the smells, the little moments of mess, and the pride of creating something from scratch. You’ve got this!


Discover more from Jars Of Flavor

Subscribe to get the latest posts sent to your email.

Discover more from Jars Of Flavor

Subscribe now to keep reading and get access to the full archive.

Continue reading