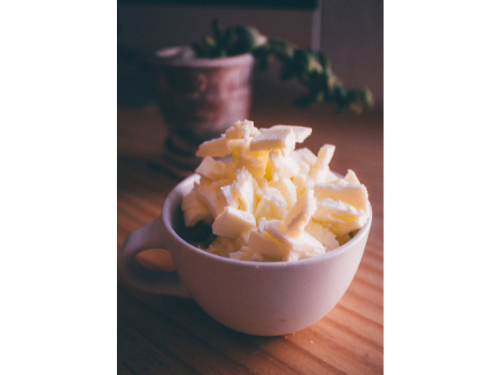
The Ultimate Guide to Homemade Butter: Techniques, Flavors, and Storage Solutions

February 7, 2024

This blog participates in affiliate programs, which means I may earn a small commission when you make purchases through links on this site at no extra cost to you. In addition, some of the images and written content on this blog are created using artificial intelligence tools. While I strive to ensure accuracy, originality, and relevance, the AI-generated content is reviewed and edited to meet quality standards. Thank you for your support!


Butter, the golden essence of dairy, is a fundamental ingredient in the realm of cooking . Crafting your own butter not only elevates the quality of your creations but also adds a personal touch that sets your recipes apart. In this guide, we delve into the process of making butter, share expert tips, storage solutions, and supply suggestions to enhance your culinary journey.

The Process: Churning Liquid Gold

Ingredients:

Jar Shaking Method

  1. Pour Cream into a Jar: Begin by pouring the heavy cream into a clean, tightly sealed jar . Ensure that the jar is only filled about one-third to half full to allow room for the cream to expand as it is shaken.
  2. Secure the Lid: Close the jar tightly with its lid, ensuring that it is sealed properly to prevent any leaks during shaking.
  3. Shake Vigorously: Holding the jar securely, start shaking it vigorously from side to side. The motion should be similar to shaking a cocktail shaker. Continue shaking with consistent, rhythmic movements.
  4. Observe Changes: After a few minutes of shaking, you will notice the cream thickening and eventually separating into butterfat and buttermilk. It may take anywhere from 10 to 20 minutes of continuous shaking, depending on the intensity and speed of your shaking.
  5. Strain and Rinse: Once the butterfat has formed into clumps and separated from the buttermilk, strain the mixture through a fine-mesh sieve or cheesecloth (https://amzn.to/3HOOHpR). Rinse the butter under cold water to remove any remaining buttermilk.
  6. Shape and Salt (Optional): Proceed to shape the butter into desired forms, such as blocks or rolls. For salted butter, knead in salt to taste during shaping.

Tips for Jar Shaking Method

Stand Mixer Method:

  1. Prepare the Cream: Start with fresh, high-quality heavy cream, preferably with a fat content of at least 35%. Allow the cream to reach room temperature to facilitate churning.
  2. Churn with Care: Pour the cream into a stand mixer or use a hand mixer for smaller batches. Begin churning at a low speed to avoid splattering, gradually increasing the speed as the cream thickens.
  3. Watch for Separation: As you continue churning, the cream will first transform into whipped cream and then separate into butterfat and buttermilk. This process usually takes around 10-15 minutes, depending on the speed and temperature.
  4. Drain and Rinse: Once the butterfat has formed into clumps and separated from the buttermilk, strain the mixture through a fine-mesh sieve or cheesecloth (https://amzn.to/3HOOHpR). Rinse the butter under cold water to remove any remaining buttermilk.
  5. Shape and Salt (Optional): Shape the butter into desired forms, such as blocks or rolls. For salted butter, knead in salt to taste during shaping.

Expert Tips for Perfect Butter

Storage Solutions

Variations on Butter

Flavored Butter Variations

Herb Butter

Honey Cinnamon Butter

Garlic Parmesan Butter

Mastering the art of making butter not only empowers you as a home chef but also enhances the quality and flavor of your culinary creations. By following the step-by-step process, implementing expert tips, and exploring variations, you embark on a journey of creativity and craftsmanship that elevates your pastries to new heights. Embrace the richness of homemade butter, and let its golden allure transform your dishes into unforgettable delights.