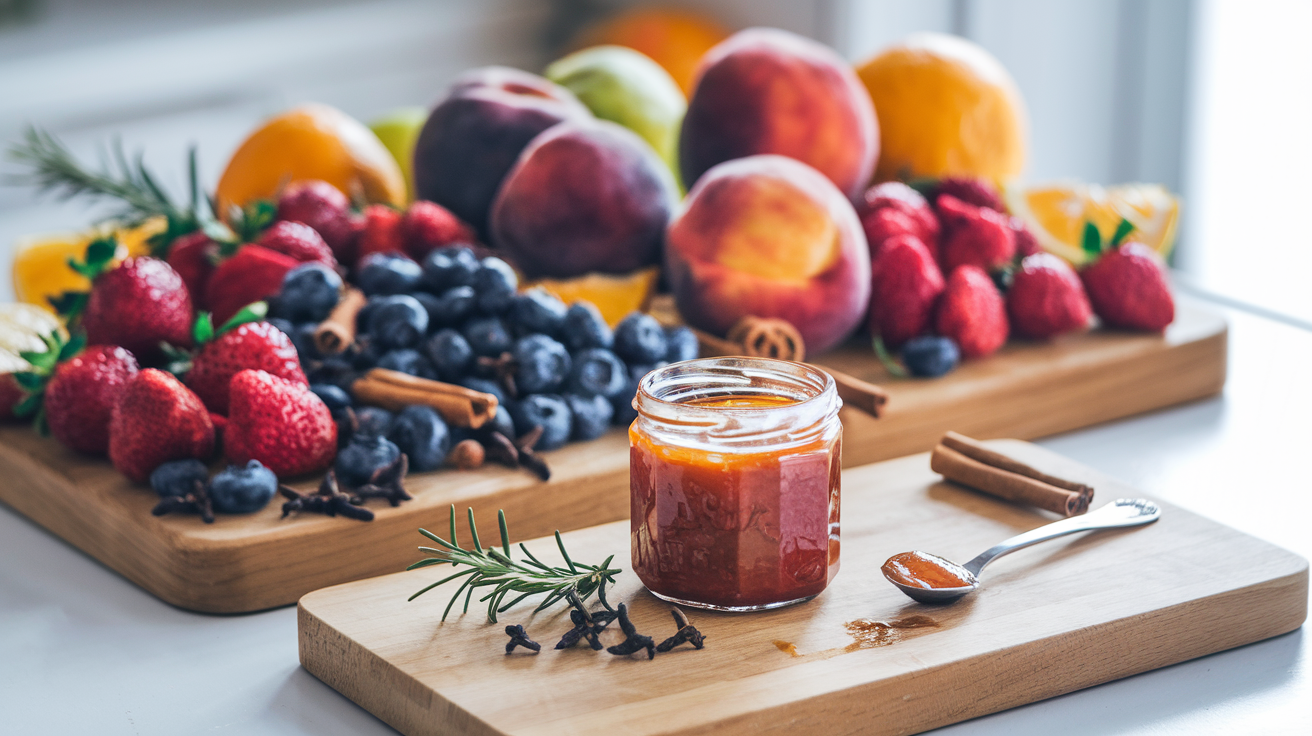
Making your own jams, jellies, and preserves at home is not only a rewarding process, but it’s also a fun way to get creative with the flavors you love. Whether you’re a beginner or an experienced canner, this universal base recipe will help you make the perfect batch of fruit preserves every time. From the first step of preparing your fruit to the final sealing of jars, we’ll walk you through each process with tips and tricks to ensure your preserves come out beautifully. Plus, we’ve included some fun variations to inspire your creativity!

Before you dive into the jam-making process, gather these essential ingredients and tools:
Ingredients:
Tools:
The first step in making your own jam or jelly is preparing the fruit. How you prepare the fruit depends on whether you’re making a jam, jelly, or preserve.
Now that your fruit is ready, it’s time to combine everything. Add the fruit (or juice for jelly) to a large pot, then stir in the sugar. If you’re using pectin, add it to the sugar first to distribute it evenly. Add the acid (lemon juice or citric acid), which will help the jam set properly and balance the sweetness of the fruit. If you’re using fruit that’s a little dry, you can also add a small amount of water to help prevent the mixture from burning.
Pro Tip: Always make sure to measure your fruit and sugar accurately. Too much sugar can make the jam overly sweet, while too little will affect its ability to set.
Place the pot over medium heat and bring the mixture to a boil, stirring constantly to prevent the fruit from sticking to the bottom. As the mixture heats up, you’ll start to see bubbles form.
Pro Tip: Keep an eye on the heat! You want a steady boil, but not too vigorous, as this can cause the fruit to scorch. Stir frequently to make sure the mixture doesn’t burn.

To check if your jam, jelly, or preserve has reached the right consistency, use the cold plate test. Place a small plate in the freezer before you start cooking. After 10–15 minutes of boiling, drop a teaspoon of the mixture onto the chilled plate. Wait for a few seconds, then push the jam with your finger. If it wrinkles and holds its shape, it’s ready. If it’s still runny, continue cooking for another 5–10 minutes, then test again.
Alternatively, use a candy thermometer. For jam, you’ll want it to reach 220°F (104°C). Jelly should be about 5–10 degrees cooler.
Once your jam, jelly, or preserve has reached the desired consistency, it’s time to jar it up.

Pro Tip: If you’re new to canning, be sure to check the seals on your jars after they’ve cooled for 24 hours. Press down the center of the lid—if it doesn’t pop back, it’s sealed.
Now that you’ve mastered the universal recipe, it’s time to get creative! Here are a few variations to help you put your own spin on your jams, jellies, and preserves:
Making your own jams, jellies, and preserves is not only a way to preserve fresh fruit, but it’s also a creative and rewarding activity. With this universal recipe, you can experiment with endless fruit combinations, herbs, and spices to make a truly personalized batch every time. Whether you’re preserving summer’s bounty or making a special gift for a loved one, homemade jam is always a treat!
Happy canning, and don’t forget to get creative with your flavors!
Subscribe to get the latest posts sent to your email.